
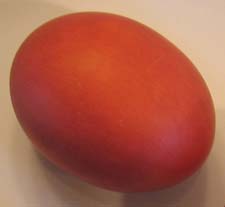
 Cultural Note: In Greece, the tradition is to dye the eggs red on Red Thursday – which commemorates the day the Last Supper was eaten. It’s also called Unholy Thursday because that’s when Jesus was betrayed by Judas. The red of the eggs represents the Blood of Christ.
Dying eggs Naturally
For blue, use red cabbage
For red, try whole beets (not canned), cherries, or cranberries
For light green, use spinach or fresh green herbs
For tan, brew strong coffee, tea, or a handful of cumin seeds
For yellow, try turmeric (a spice) and yellow onion skins
For olive green, use red onion skins
For purple, grape juice or frozen blueberries
Preparing the Dyes Cover the ingredients with water, while making enough dye to cover the eggs. Add white vinegar to set the dye and bring out color – about 3-4 cups water to 1 T. white vinegar. Bring water to a boil and simmer for 30 minutes. If color is still not released add more vinegar and simmer another half hour – careful not to let the water boil off. Gently smash the ingredients with the back of a wooden spoon. When using green leafy vegetables, substitute 1 teaspoon of baking soda for the vinegar. After cooking, strain the colored liquid through a strainer with a coffee filter.
Dying Eggs Naturally GREEN with Spinach – Simmer frozen spinach in water with a little baking soda for about 30 minutes or longer until water is green.
Olive Green
Peels of 5 Red Onions
6 Cups of Water
1 T. Vinegar
Boil 30 Minutes. Let eggs soak in the dye till desired color. Makes wonderful brick red eggs.
Turmeric for Yellow
4 tablespoons Turmeric
3 cups Water
1 T. Vinegar
Boil for 5 minutes and then simmer for 30 minutes. Filter through a coffee filter inside a strainer to get rid of the excess turmeric.
Coloring the Eggs – For a more consistent color on the eggs, hard boil the eggs in advance and prepare the dye separately.
Once dye is ready, put it in a bowl, add the hard-boiled eggs and let soak for five minutes to several hours. The longer they soak, the darker the color. Turn them in the dye occasionally for more consistent color.
Drying the Eggs -Remove eggs from dye bath and let them dry. Be careful for eggs may take on the pattern of whatever surface you rest them on.


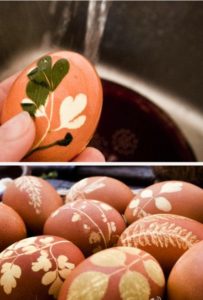
PLANT PRINT EGGS
Silk Tie Easter Eggs
Silk Tie Easter Eggs
Small- to medium-size raw eggs
Glass or enamel pot
Silk ties, blouses, or boxers, cut into pieces large enough to cover an egg
White sheets ( pillowcases or old tablecloths), cut into pieces to cover silk-wrapped eggs
Twist ties
3 tablespoons of white vinegar
Warm water
Vegetable oil
Paper towels
Tongs or spoon
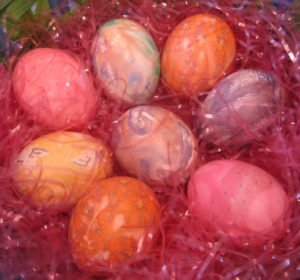
1. Cut silk into a square (or a piece) large enough to wrap around a raw egg.
2. Wrap raw egg with a piece of silk, making sure the printed side of the material is facing the egg. Silk can still be used if it doesn’t fit perfectly around egg.
3. Place the silk-wrapped egg in a piece of white sheet, pillowcase, or old tablecloth and secure tightly with a twist-tie.
4. Place the eggs in an enamel or glass pot filled with water to cover eggs completely. Add three tablespoons of white vinegar.
5. Bring water to a boil, turn heat down, and simmer for 20 minutes (longer if you plan on eating the eggs).
6. Remove eggs from water and let cool.
7. Remove silk from cooled egg.
8. For shiny eggs, wipe with vegetable oil after completing step
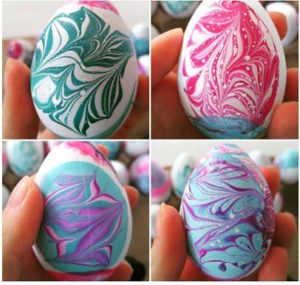
Marbelized Eggs To add a marbleized effect, stir in a few teaspoons of vegetable oil into the cooled strained dye. The oil sticks to the shell in places, preventing the dye from coloring the shell in certain spots.
For a relief technique, cover the shell with stickers, tape, stencils, leafs, or flowers before dying them.
Marble some eggs with nail polish
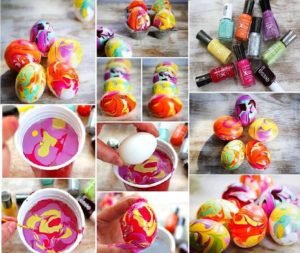
Eggs. A lot of them.
Nail polish in all kinds of fun shades – silver polish was amazing!
A plastic cup filled with room temperature water. If the water is too cold or too hot, the polish won’t work.
Toothpicks.
Nail polish remover. You’ll need this to get the polish off your fingers when you’re done.
Drop lots of nail polish into the water. If it sinks, the temperature isn’t right. You want it to spread out over the top of the water. Have fun playing with colors! Then take a toothpick and swirl the colors a bit.
Hold your egg between your fingers so that you cover the least amount of surface area on the egg. Then dunk straight down into the water, hold for a second underwater and then bring it up. The polish will cover about half of the egg. Sit the egg in a carton or something and let it dry.
Volcano Eggs

Volcano Egg Dying
hard-boiled eggs
food coloring
vinegar
baking soda
paint brushes
some cups
big lipped plate or bowl
a cup of water
1. Create baking soda paint using a tbsp (or so) of baking soda, couple tsps of water, and some food coloring. Mix it up and experiment until you have the consistency you want.
2. Grab a paint brush and start painting your eggs.
3. Drop some food coloring splashes onto your eggs using a dropper.
4. Pour vinegar on top of the egg and watch the “volcanic eruption” all around your egg (picture the bubbling of a baking soda volcano, but more colorful. Every time is different based on your colorful combinations).
5. Repeat steps 2, 3, and 4 again and again until you get bored and are ready to move on to another egg.
6. Pat off the excess vinegar off lightly or just let them air dry.

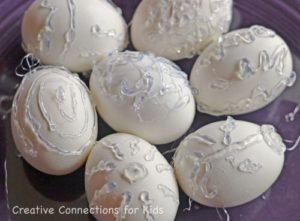






Our crayon dyed eggs! Put on crayon design while very warm and then put into dye.
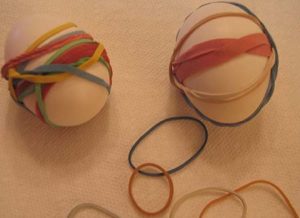
Rubber Bands Wrap eggs with a few rubber bands before dyeing it. To get a few different shads, take the egg out of the dye, remove a few of the rubber bands.
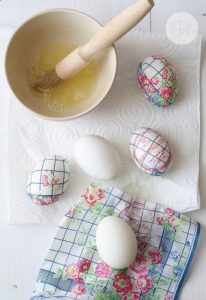
Napkin print eggs. Cover with napkin and paint with vinegar


Tie-dyed eggs Add a few drops of food coloring to the eggs in a colander and then rinse the eggs with cool water. Shake the eggs gently so the food coloring spills over the sides of the eggs. Add a few drops of a new color to the eggs in the colander. Very gently spread the color all around. Rinse the eggs with cold water. Repeat the process with a third color. After you’ve added the final color, rinse the eggs again. Dry with a paper towel. Place in a container to store and refrigerate.


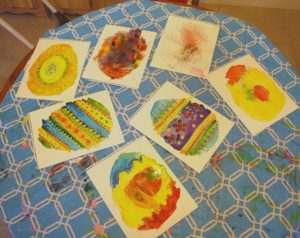
Painted Eggs
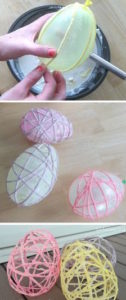
Yarn Dipped Eggs in flour/wheat paste mache mixture with a little
Elmers glue added and wrapped around a balloon.




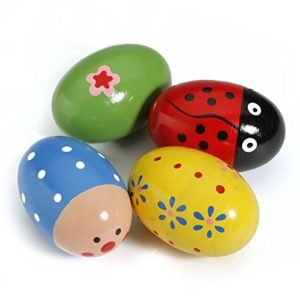
Egg Shakers
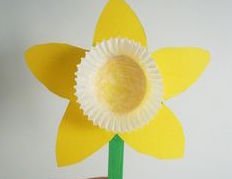
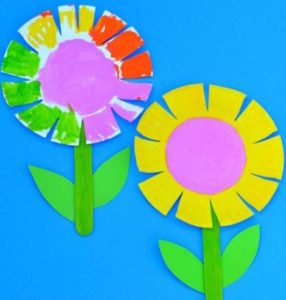
Egg Garland

